Acrylic painting on wood is an art form that skillfully blends the rustic appeal of wooden surfaces with the vibrant versatility of acrylic paints.
This medium is ideal for those wondering, “Can you use acrylic paint on wood?” The answer is a resounding yes!
Whether you’re embarking on a project with a smooth wood panel or a textured piece of wood, the process of applying acrylic paint can transform any wooden surface into a masterpiece.
From preparing the wood to applying a thin layer of paint, every step is an opportunity to enhance the natural beauty of the wood grain while exploring the rich palette of acrylics.
This guide is designed to walk you through the process, from how to prepare the wood to seal the wood after painting, ensuring your artwork not only shines with aesthetic brilliance but also stands the test of time.
Benefits of Using Acrylicson Wood
Using acrylics to paint on wood offers several advantages. Acrylic paint adheres well to wooden surfaces, providing a durable and long-lasting finish.
The ability to apply a thin layer of paint allows for building up color and texture without losing the wood’s natural grain.
This flexibility is perfect for artists who wish to blend the intrinsic beauty of wood with the dynamic range of acrylic paints.
Additionally, acrylics dry quickly, allowing artists to add multiple layers without long waiting times. This property is particularly beneficial when working on a piece of wood where timing and layering play crucial roles in the final outcome.
Selecting the Right Type of Wood
When it comes to painting with acrylics on wood, the choice of wood can significantly impact the outcome of your artwork.
Different types of wood offer varying textures and absorbency, which can affect how the paint adheres and appears.
For a smooth surface, consider using wood panels like MDF (Medium Density Fibreboard) or high-grade plywood, known for their even textures and minimal grain visibility.
Hardwoods such as oak, maple, and birch are excellent for their durability and quality, but they may require more preparation to ensure the paint adheres well.
Softwoods, although more porous, can be a good choice too but might absorb paint differently. It’s important to consider these factors to choose the best type of wood for your project.
Essential Painting Supplies
To start painting on wood with acrylics, gathering the right supplies is crucial. Here’s a list of essentials:
- Acrylic Paints: Choose high-quality acrylic paints for their rich pigmentation and durability. The type of acrylic paint you select will influence the vibrancy and longevity of your artwork.
- Brushes: A variety of brushes, including soft brushes for detailed work and larger brushes for broader strokes, are essential. The brush type can significantly impact the application of thin layers of paint.
- Sandpaper: Fine-grit sandpaper is needed to prepare the wood, ensuring a smooth surface for painting.
- Primer: An acrylic primer or gesso prepares the wood to accept the paint, enhancing adhesion and vibrancy.
- Sealant: To seal the wood after painting, a good quality sealant or varnish is necessary to protect the artwork.
- Paper Towels and Cleaning Supplies: For cleaning brushes and managing spills.
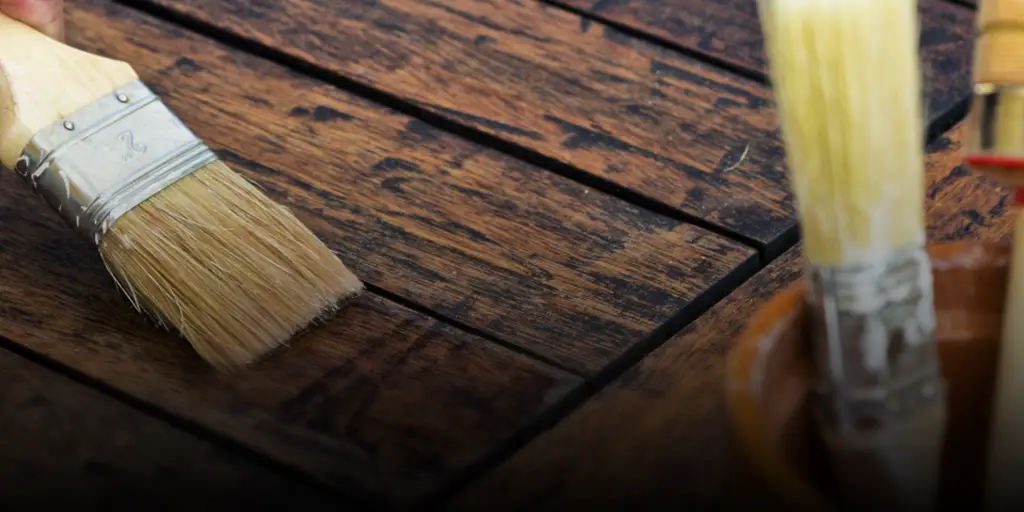
Preparing the Wood Surface
Proper preparation of the wood is a vital step before you start painting. Follow these steps to ensure the best results:
- Clean the Surface: Wipe the wooden surface with a damp cloth to remove dust and debris. Allow it to dry completely.
- Sanding: Use fine-grit sandpaper to sand the surface gently. This step is crucial for achieving a smooth surface and enhancing paint adhesion. Sand in the direction of the wood grain for the best results.
- Applying Primer: Apply a coat of primer or gesso. This will not only seal the wood but also ensure that your acrylic paint sits nicely on the surface. Allow the primer to dry before applying the paint.
Primer Selection and Application
Choosing the right primer is as important as selecting the paint. A primer creates a smooth surface for the acrylic paint to adhere to and can significantly impact the final look of your artwork.
Apply a thin, even coat of primer and allow it to dry completely. For woods that are more absorbent or have a prominent grain, consider applying a second coat of primer.
This step ensures that your paint will not only stick well but will also stand out vibrantly on the wood.
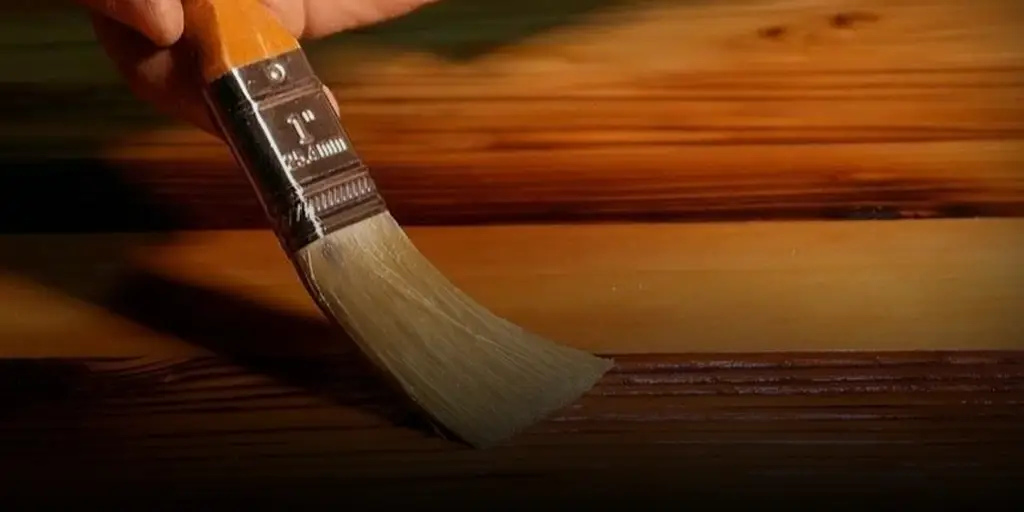
Acrylic Painting Techniques
Once your wood is primed and ready, it’s time to unleash your creativity with acrylic paint. Here are some techniques to help you get started:
- Base Layer: Begin by applying a thin base layer of paint. This establishes the color scheme and mood of your artwork. Ensure it dries completely before adding more layers.
- Building Layers: Acrylics are great for layering. Apply thin layers of paint, allowing each to dry before applying the next. This technique helps in achieving depth and richness in color without the paint cracking or flaking.
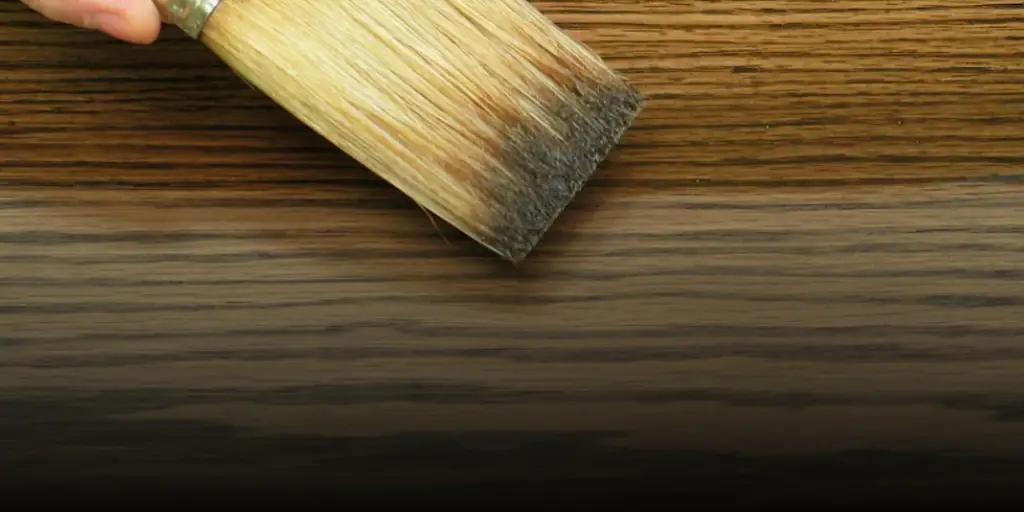
- Blending: Use a soft brush to blend colors while they are still wet. This can create smooth transitions and add a realistic touch to your painting.
- Texture Creation: Experiment with different brush strokes, sponges, or palette knives to create various textures and effects on the wooden surface.
Achieving DifferentFinishes
The finish of your acrylic painting can vary depending on the techniques and materials used. Here are some options:
- Matte Finish: For a non-reflective, soft look, opt for matte varnishes or use a matte medium in your acrylic paint.
- Glossy Finish: Apply a glossy varnish to give your painting a shiny, reflective quality.
- Distressed Look: For a vintage or weathered effect, lightly sand the edges or areas of the painting after it dries.
Sealing and Protecting Your Art
After your painting is dry, it’s important to seal the wood to protect your artwork:
- Choosing a Sealant: Select a sealant compatible with acrylic paint. Options include spray varnishes or brush-on sealers.
- Application: Apply a thin, even layer of sealant over the entire surface. This will protect your painting from moisture, UV rays, and wear and tear.
- Drying: Allow the sealant to dry completely before handling or displaying the artwork.
Troubleshooting Common Issues
While painting on wood with acrylics, you may encounter some challenges:
- Paint Not Adhering: If the paint peels or doesn’t stick, it’s likely the wood wasn’t primed properly. Ensure the surface is clean and primed before you start painting.
- Cracking Paint: This can occur if the layers of paint are too thick. Always apply thin layers and allow them to dry before applying more.
- Uneven Finish: An uneven finish often results from not allowing layers to dry completely. Patience is key; ensure each layer is dry before applying the next.
Displaying and Storing Your Art
Once your painting is complete and dry, you can choose how to display it. Framing or mounting on a wall are popular options. If you’re storing the artwork, keep it in a dry, safe place to avoid damage.
People Who Want to Read This Article:
Advanced Projects and Ideas
As you grow more comfortable with the medium, you can explore advanced projects like mixed media art, incorporating elements like fabrics or metals into your wood paintings, or trying more complex painting techniques.
Conclusion
Acrylic painting on wood offers endless possibilities for creativity and expression. With the right preparation, techniques, and care, your wooden artwork can become a lasting piece of beauty.
Frequently Asked Questions
Can you use acrylic paint on wood without a primer?
While it’s possible, using a primer ensures better adhesion and longevity of your paint on the wood.
How long should I wait for the paint to dry before applying a sealant?
It’s best to wait at least 24 hours to ensure the paint is completely dry.


