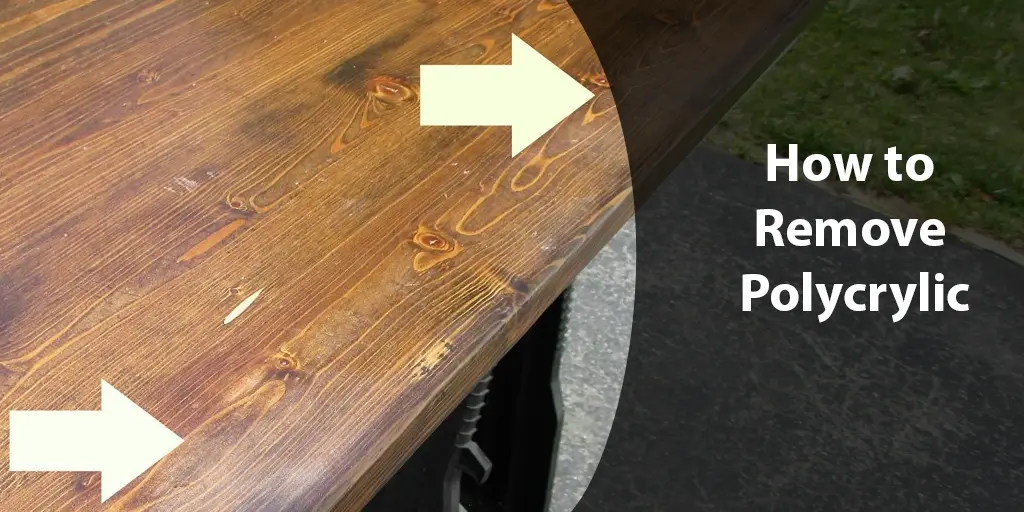
If you’ve ever worked with wood furniture, floors, or other surfaces, you’ve likely encountered Polycrylic – the ubiquitous acrylic protective finish used by both DIYers and professionals to seal, protect and beautify wood.
While a good sealer when first applied, over time Polycrylic can become faded, scratched or simply need refreshing.

But did you know that improper removal of this hardened acrylic coating can pose risks if not done carefully?
In this comprehensive guide, we’ll break down everything you need to know to completely and safely strip Polycrylic from wood surfaces.
From identifying Polycrylic finishes and assessing your specific project, to selecting the right tools, following safety protocols and properly executing the removal process – our step-by-step instructions have you covered.
Polycrylic is one of the most widely used sealers on the market. Applied as a protective topcoat on furniture, floors, wood doors, paneling and more, it forms a durable glossy finish that shields the underlying wood from damage like water marks, scratches and wear over time.
However, being an acrylic-based synthetic, it can become dull, scratched or cracked if heavily used without reapplication or reconditioning.
When removal is necessary, do it wrong and you risk damage to the prized wood below. Fumes from harsh chemicals can also endanger your health and home if proper ventilation is not provided.
In this article, we’ll give you all the facts on identifying Polycrylic finishes, safety issues to be aware of with different removal methods and multi-step instructions for successfully stripping it away efficiently while avoiding common pitfalls.
Our guidance has been crafted based on expertise from woodworkers and is designed for DIY homeowners as well as remodeling professionals.
By following our recommendations, you’ll be empowered to remove Polycrylic like a pro – safely restoring your wood surfaces to their natural beauty.
Identifying Polycrylic Finished Surfaces
The first step is recognizing when a surface has been finished with Polycrylic. As one of the most common sealers on the market, spots where it’s likely been applied include:
- Furniture such as tables, chairs, cabinets and shelves – Look for a glossy acrylic sheen, especially on surfaces exposed to handling like tabletops.
- Floors including hardwood, laminate and engineered flooring. Polycrylic creates a slick, glossy look that’s often used after professional refinishing.
- Interior wood doors, trim, molding and paneling used throughout homes. Check for the signature high gloss shine.
- Outdoor wood surfaces such as decks, fences and play structures. Used to combat moisture and UV damage.
Several visual signs can indicate the presence of a Polycrylic finish:
- Glossy, plastic-like sheen that gets dull or scratched over time.
- Coating appears thick, rounded and softened edges where applied to wood grain.
- Fingernail test – Try gently scraping nail across surface, Polycrylic will show indentations rather than wood fibres.
- Water behavior – Water will “bead” up rather than soak in if Polycrylic is still intact.
You can also try using a chemical spot test on an inconspicuous area by applying polycrylic stripper. If bubbling or softening occurs, it confirms an acrylic finish.
Proper identification is crucial before starting any removal project to select the appropriate methods.
Assessing the Removal Project
Now that you’ve identified the presence of a Polycrylic finish, it’s time to carefully evaluate your specific removal project. This assessment phase is critical for determining the appropriate methods and achieving good results.
Start by examining the affected area closely. Note the following factors:
- Surface condition – Is the wood intact, damaged or neglected underneath? Sanding may be needed.
-Finish thickness – Thinner coats can be simpler but thicker means more stripper is required.
- Total square footage – Large, contiguous areas take more time and materials than small, isolated spots.
- Intricate details – Carvings, turns and profiles require extra care versus flat surfaces.
- Location accessibility – Open flooring allows easier access than built-ins. Scaffolding may help.
Also check for any additional coating layers like stains or paint underneath the Polycrylic. The more buildup, the longer removal takes.
Next, gauge the level of difficulty:
- Easy – Thin, single coat on small, accessible, intact wood. Heat or chemical strippers work well.
- Moderate – Thicker coats, larger areas or some degradation/damage underneath. May need multiple steps.
- Difficult – Heavily layered, neglected surfaces or complex profiles. Pro methods with power tools are best.
Document your findings – photos help compare before and after. Consider calling a pro for difficult or large commercial projects. Their tools and experience ensure safe, proper handling of hazardous materials.
Armed with this assessment, in subsequent sections we’ll outline the best tools, safety practices and customized process for your unique Polycrylic removal project.
Required Tools and Materials
With your project assessed, it’s time to gather the essential toolkit for tackling the job safely and effectively. Proper planning at this stage pays off with better results.
The core materials required are chemical strippers formulated to soften Polycrylic. Common active ingredients like methylene chloride and N-Methylpyrrolidone work but always select a brand recommended for your specific project circumstances. Buy quantities sufficient for the surface area.
Additional supplies:
- Protective gear – At minimum, gloves, goggles, respirator mask and protective clothing. Consult Section 4 for full lowdown on proper safety.
- Scrapers – Flexible plastic putty knives are best for most uses. Consider metal scrapers only for difficult areas.
- Sandpaper – Grits ranging from 60-120 allow smoothing after stripping. Opt for aluminum oxide or silicone carbide papers.
- Drop cloths – Heavy duty plastic sheeting to protect adjoining areas and for covering scrapings.
- Rags – Cotton cloths for applying strippers and wiping away residues. Avoid reactive synthetic materials.
- Primer/Sealer – An optional protective undercoat for stained or bare wood after full removal before refinishing.
- Ventilation – Box or window fans circulate air in enclosed spaces. Outdoor projects require no extra ventilation.
- Power tools – Rotary tools with abrasive pads speed processes but only use with adequate ventilation and protection for difficult jobs.
Never skimp on safety when choosing suppliers. Purchase premium protective gear and chemical grades from reputable companies. In Section 5, we’ll outline customized material quantities based on surface size.
Safety Precautions
With any chemical stripping process, safety should be the top priority. Polycrylic removals involve potentially hazardous materials, so taking proper precautions is critical.
Hazards to be aware of include:
- Inhalation risks from toxic vapors in strippers containing methylene chloride and NMP.
- Skin and eye irritation on contact with strippers. They can also be absorbed through skin.
- Fire risks when using strippers, as many are flammable.
- Slip hazards from surfaces being wet and softer during removal process.
To protect yourself, always wear the following protection gear:
- Nitrile gloves to prevent skin absorption of chemicals.
- Safety goggles to shield eyes from splashes and vapors.
- Organic vapor respirator mask rated NIOSH N95 or better.
- Long sleeves, pants and closed-toe, slip-resistant shoes to cover entire body.
For ventilation, perform the job either outdoors or indoors with:
- Operable windows opened fully along with exhaust fans.
- Portable ventilation fan blowing outward from the workspace.
- Never work in very enclosed indoor rooms without airflow.
Also take fire safety precautions such as:
- Using chemical strippers away from any potential ignition sources.
- Having a fully charged fire extinguisher ready.
Following these guidelines diligently minimizes exposure risks from inhalation and contact. With the right protective equipment in place, the process is safe when carefully done by the book – as outlined in Section 5.
The Polycrylic Removal Process
Now that preparations are complete, it’s time to begin the multi-step stripping process. Proper execution of each phase ensures a smooth, effective result.
Step 1 – Preparation:
- Don all required protective gear from Section 4.
- Cover surrounding areas with drop cloths to prevent stray drips/residue.
- Set up ventilation as described and confirm adequate airflow.
Step 2 – Applying the Stripper:
- Select the appropriate stripper based on your assessment in Section 2.
- Following label instructions, apply a thick, even coat over the entire surface using a natural bristle brush in steady strokes.
- Apply liberally over all areas, reapplying as needed within the stated contact time.
Step 3 – Allowing Dwell Time:
- Chemicals need time to break down Polycyclic bonds, typically 15-30 minutes.
- Inspect and reapply stripper to any areas resisting softening for maximum effect.
Step 4 – Removing Softened Polycylic:
- Starting in one area, use a plastic scraper to remove softened strips of coating, scraping with the grain.
- Work methodically section by section until fully stripped. Change strippers as sections complete drying.
Step 5 – Post-Removal Cleaning:
- Wipe away residue and fumes with rags until pristine bare wood or previous coating appears.
- Sand any stubborn spots and rough areas with 60-120 grit paper as needed.
- Clean up protective sheets and dispose of all hazardous waste properly.
With finishes fully gone, your surfaces can now be refinished as desired using the method best suited to the new intended purpose. Always maintain safety as the top priority throughout.
Conclusion: Tips for Success and Looking Ahead
With the proper guidance, you now have the knowledge and tools needed to safely remove Polycrylic like a professional. By following the protocols outlined in this comprehensive guide step-by-step, your surfaces can be restored to their natural beauty with minimal effort.
Let’s review the key points to success:
- Positive identification of Polycrylic using visual/physical cues is paramount before starting any project.
- Carefully assessing the unique conditions determines the appropriate methods and supplies required.
- Acquiring the necessary safety gear and using protective equipment diligently prevents harm.
- Ensuring proper ventilation lowers inhalation risks from vapors during the chemical process.
- Allowing sufficient dwell times maximizes stripper efficacy for full finish removal.
- Methodically working in sections and thoroughly cleaning up leaves surfaces pristine.
With your newly stripped wood profiles or furniture ready for a finishing touch, feel empowered to refinish as desired – whether that’s restaining, painting or simply sealing.
For especially intricate jobs or large commercial-scale removal projects, professional assistance is also available.
Don’t forget – these guidelines will serve you well in the future for any needed Polycylic touch-ups or whole home refreshes.
By applying the fundamentals of safety, preparation and process outlined here, you’re set up for successful stripping results for years to come. Happy refinishing!


