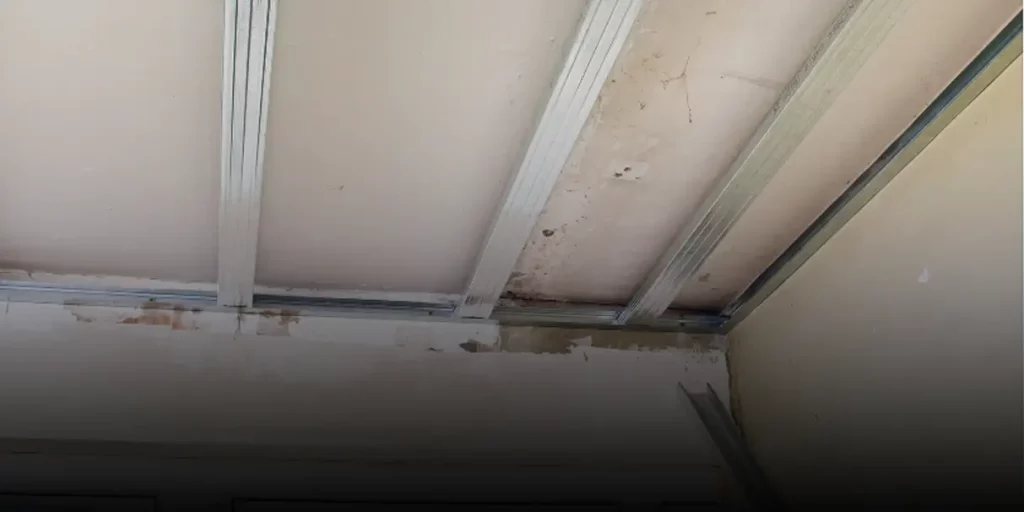
Ceiling studs, often referred to as ceiling joists, are the backbone of your ceiling. These beams support the weight of the ceiling and additional elements such as light fixtures, fans, or heavy decorations.
When planning to install or replace a light fixture, or even when hanging items from the ceiling, accurately pinpointing the location of these joists is crucial.
Using an electronic stud finder can simplify this task, but there are also traditional methods that come in handy, especially when the electronic tools fail.
Knowing where to locate studs or find studs in the ceiling is paramount for ensuring secure installations. Whether you’re drilling with a specific drill bit, or intending to use screws or nails for mounting, hitting the stud is essential for a sturdy setup.
Missing the stud and drilling elsewhere can lead to weak installations or even damage. Furthermore, a common standard in many homes is that ceiling joists are spaced either 16 inches apart, similar to wall studs.
However, this can vary based on building codes and the structure’s age.
It’s also worth noting that while electronic stud finders are incredibly useful, sometimes the old-fashioned method of using a small nail to gently probe and locate the stud can be just as effective, if not more so.
In this article, you will discover:
- Both electronic and manual methods to detect ceiling studs.
- The significance of accurately locating a ceiling stud for secure installations.
- Tips, tricks, and insights to ensure you never miss a stud again.
Why is it Important to Find a Stud in the Ceiling?

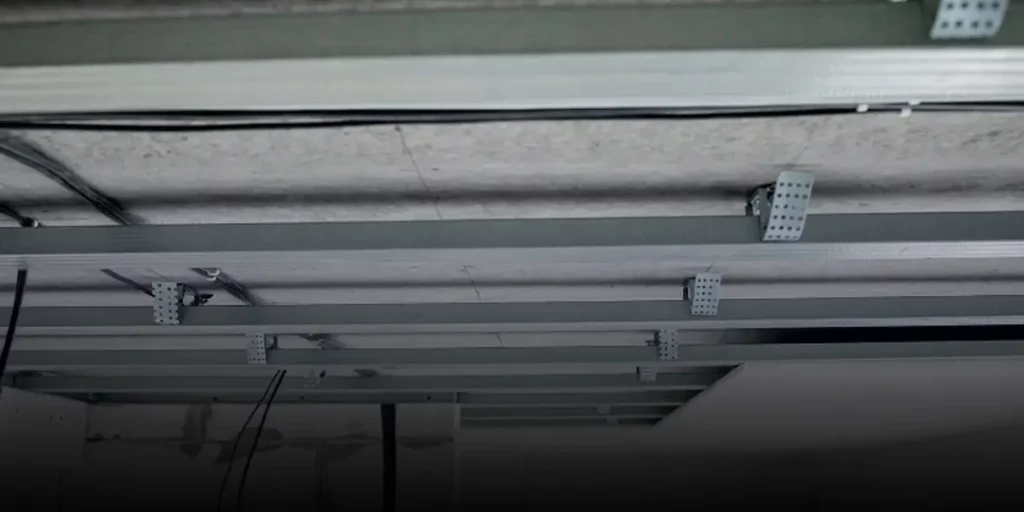
The ceiling, often overlooked, plays a pivotal role in the structural integrity of a home. Ceiling joists, which are essentially the studs in the ceiling, bear the brunt of the weight, ensuring everything overhead remains stable and secure.
But their significance goes beyond just being a support system. Let’s explore why it’s paramount to find these studs:
- Safety First: When mounting heavy objects like ceiling fans or light fixtures, it’s vital to secure them to a stud. Mounting directly to the drywall or plaster without anchoring to a joist can lead to the object falling, posing severe safety risks.
- Preventing Damage: Drilling or nailing blindly into the ceiling can lead to costly mistakes. Apart from missing the stud, you might hit electrical wires or plumbing, leading to expensive repairs.
- Ensuring Longevity: Fixtures secured to a stud tend to last longer. They remain firmly in place, unaffected by vibrations or minor shifts in the building’s structure.
- Maximizing Load-Bearing Capacity: Drywall alone can’t bear much weight. Ceiling joists, spaced typically 16 inches apart, are designed to distribute and bear weight efficiently. So, for heavier installations, locating these studs is non-negotiable.
“In construction, precision is key. Whether it’s determining where to place a nail or choosing the right drill bit, every decision can impact the final outcome.
Finding a stud in the ceiling is no different. It’s the difference between a job well done and potential disaster.” – Renowned Construction Expert
Finding a Ceiling Joist
Using an Electronic Stud Finder
An electronic stud finder is an indispensable tool for many DIY enthusiasts and professionals alike. It offers a quick and efficient way to locate studs without causing any damage to the ceiling.
Here’s a step-by-step guide to using one:
- Prepare the Ceiling: Before you begin, ensure the ceiling is clean. Remove any dust or debris, as this can sometimes interfere with the stud finder’s sensors.
- Calibrate the Stud Finder: Turn on the device and place it flat against the ceiling. Wait for a few seconds until the device calibrates. Most modern stud finders will indicate they’re ready, either with a beep or a light.
- Move Across the Ceiling: Slowly slide the stud finder across the ceiling in a straight line. It’s essential to move at a steady pace to ensure accurate readings.
- Mark the Stud Locations: When the stud finder detects a stud, it will typically beep or light up. Mark this spot with a pencil. Continue moving the device to find the edges of the stud and mark those as well.
- Verify the Distance: Measure the distance between the marks to confirm they are approximately 16 inches apart. This will validate that you’ve indeed located the studs and not some other obstruction.
- Double-Check: It’s always a good idea to move back over the same area to ensure consistent readings. If the stud finder gives different results, recalibrate and try again.
The Best Stud Finders


For best results, use fresh batteries in your stud finder. Low battery power can sometimes lead to inconsistent or inaccurate readings.
Advantages of Using an Electronic Stud Finder:
- Efficiency: Quickly locates studs without any guesswork.
- Non-Invasive: No need to drill small holes or use nails to locate the studs.
- Accuracy: Modern devices are highly accurate, ensuring you hit the stud every time.
The electronic stud finder works by detecting changes in density. When it moves from a less dense area (like drywall) to a denser area (like a stud), it signals the presence of the stud.
Finding the Joist Manually
Sometimes, you might not have an electronic stud finder on hand, or you may prefer the tried-and-true manual methods. These techniques, while older, can be equally effective when done right.
Trace the Outlets
Electrical outlets are typically mounted to the side of a stud. While this method is more common for finding wall studs, it can sometimes provide clues for ceiling joists, especially if you have ceiling outlets for fixtures:
- Locate an Outlet: Find a ceiling outlet or any fixture point.
- Check the Sides: Gently tap on each side of the outlet. The side that sounds solid (less hollow) is likely where the stud is.
- Measure from the Outlet: From the solid side of the outlet, measure 16 inches outwards. This should be the approximate location of the next stud or joist.
Use a Magnet
A small magnet can be a handy tool to locate screws or nails in the ceiling, which are typically driven into joists:
- Slowly Move the Magnet: Drag a small magnet across the ceiling. When it sticks, it’s likely found a screw or nail.
- Mark the Spot: Mark the location where the magnet sticks.
- Find Additional Screws or Nails: Continue moving the magnet to locate other fasteners. They should be in a straight line if you’re tracking a joist.
- Measure the Distance: Check the distance between the marked spots. They should be spaced around 16 inches apart if you’re accurately tracking the joist.
Try a Small Nail
If all else fails, a small nail can be used to gently probe the ceiling and find a stud:
- Choose Your Starting Point: Start near a corner or where you suspect a joist might be.
- Gently Tap the Nail: Push the nail into the ceiling. If it encounters resistance after a short distance, you’ve likely found a stud.
- Measure and Continue: If you’ve found a stud, measure 16 inches from that point and try again to find the next stud.
Make sure to patch any small holes made by the nail for a clean finish.
These manual methods, while requiring a bit more effort and patience, can be just as effective as electronic tools, especially in older homes where electronic stud finders might struggle due to thicker plaster or lath walls.
Which Method Should I Use?
Choosing the right method to find studs in your ceiling depends on several factors. While electronic stud finders offer ease and speed, manual methods have their own merits.
Here’s a breakdown to help you decide:
Consider Your Tools at Hand
- Electronic Stud Finder: If you have one, it’s a great first choice. It’s quick, efficient, and doesn’t require any invasive probing.
- Magnet: If you don’t have a stud finder, a small magnet can effectively locate screws or nails in the ceiling, indicating the joists’ positions.
- Small Nail: This is more of a last-resort method. It’s effective but requires a bit more effort and leaves tiny holes that you might need to patch.
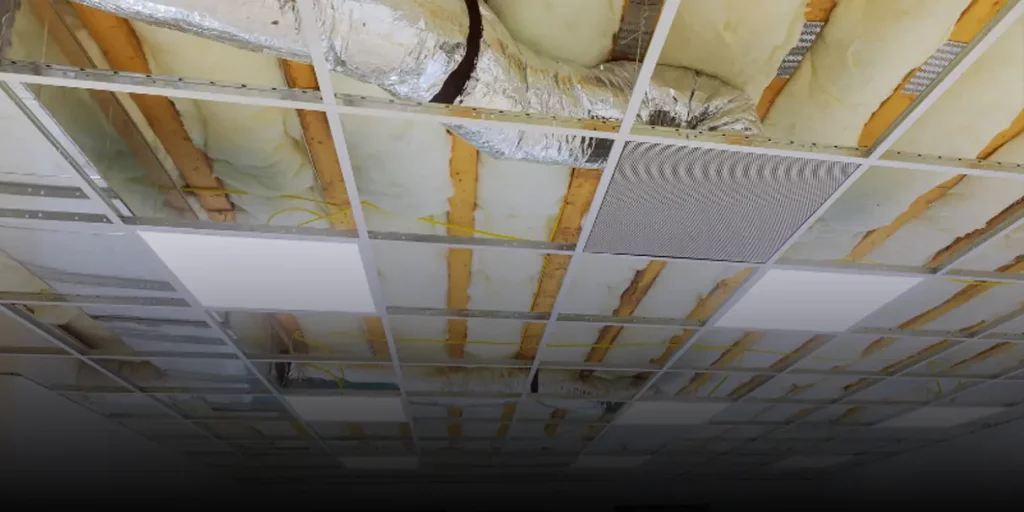
Think About the Ceiling Material
- Drywall: Electronic stud finders work best on drywall, making them a top choice.
- Plaster and Lath: Older homes with plaster and lath walls might pose challenges for electronic stud finders due to the varied densities. In this case, the magnet or small nail method might be more effective.
Accuracy and Consistency
- While electronic stud finders are generally accurate, always double-check their findings, especially if you’re hanging something heavy.
- Manual methods, like the magnet or nail, can be highly accurate but require a bit more patience and diligence.
The Task at Hand
- Light Installations: For lighter fixtures, once you find one stud, you can generally measure out where the others are (typically spaced 16 inches apart).
- Heavier Installations: If you’re hanging something heavy, like a chandelier or ceiling fan, it’s vital to be certain of the stud’s location. In this case, an electronic stud finder combined with manual verification is recommended.
“Each ceiling is unique, just as each project is unique. While tools and techniques can guide you, always trust your instincts and knowledge. Sometimes, the best method is a combination of tools and old-fashioned know-how.” – Expert Carpenter
By weighing the pros and cons of each method and considering the specificities of your project, you can make an informed decision. Remember, the key is to ensure safety and stability.
You May Also Enjoy Reading:
Summary
Finding a stud in the ceiling, or more accurately, a ceiling joist, is essential for ensuring the safety and longevity of any overhead installation.
Whether you’re looking to mount a light fixture, a ceiling fan, or any other decorative item, securing it to the joist is paramount. Here’s a quick recap of what we’ve covered:
- The Importance: Ceiling joists provide the structural support needed for safe and sturdy installations. Missing them can lead to potential hazards and damage.
- Electronic Stud Finder: A handy tool that offers quick and efficient detection of studs. It works best on drywall and is ideal for those who prefer a non-invasive approach.
- Manual Methods: These include tracing outlets, using a magnet, or probing with a small nail. Each method has its merits, especially in homes with plaster and lath ceilings where electronic devices might struggle.
- Choosing the Right Method: The best approach depends on the tools at hand, the ceiling material, the required accuracy, and the specific task. Often, a combination of methods ensures the best results.
By harnessing the insights and techniques shared in this guide, anyone can master the art of locating ceiling joists.
It’s a blend of using the right tools, understanding the nuances of your home’s construction, and sometimes, a bit of old-fashioned intuition.


