Are you living in a charming home with plaster walls? Hanging pictures in such a setting poses unique challenges due to the brittle nature of plaster compared to materials like drywall or concrete.
The key to successful picture hanging on plaster walls lies in using the right technique and choosing appropriate hardware.
This guide will provide you with all the necessary information to hang your pictures safely and stylishly, preserving the integrity of your plaster walls.
First Things First: What’s a Plaster Wall?
What are Plaster Walls? Plaster walls have a rich history, predating the modern drywall. They are constructed using strips of wood (lath) overlaid with plaster, creating a sturdy yet brittle surface.
This method allows for a textured, contour-friendly finish, giving homes an authentic, old-world charm.
However, the delicate nature of plaster demands specific handling to prevent damage during any wall modifications, such as hanging pictures.
Why are Plaster Walls Challenging? Unlike drywall, plaster is less forgiving. It’s prone to cracking and chipping, making the choice of hanging hardware crucial.
Understanding these properties is the first step in ensuring that your picture hanging project is successful and damage-free.
Preparations Before Hanging Pictures
Gathering Necessary Materials
To hang pictures on plaster walls, you’ll need specific tools and materials, such as a drill, appropriate wall anchors, a stud finder, screws, and a level.
Additionally, consider the weight and size of the picture you intend to hang, as this will influence the choice of hardware and placement.
Assessing the Wall
Before beginning, it’s essential to evaluate the condition of your plaster wall. Look for any signs of existing damage or areas that seem particularly fragile.
This assessment will guide you in choosing the safest and most effective spot to hang your picture.
Finding Wall Studs
The Importance of Wall Studs
Locating wall studs is a crucial step inhanging pictures on plaster walls. Wall studs provide the most secure anchor point for hanging heavy items.
However, finding studs in plaster walls can be tricky due to the wall’s uneven surface and varying thickness.
Using a Magnetic Stud Finder
A reliable tool for finding studs in plaster walls is a magnetic stud finder. It detects the nails or screws that attach the lath to the studs, indicating where the studs are located.
Mark these locations with a pencil for reference during the hanging process.
People Who Want to Read This Article: How to Find a Stud in the Ceiling
Choosing the Right Plaster Wall Anchors
Selecting Suitable Anchors
For plaster walls, regular plastic anchors may not suffice. The best choices are Molly Bolts and Toggle Bolts. These anchors expand behind the wall, providing robust support for the weight of your pictures.
Installation Steps
- Molly Bolts: Drill a pilot hole, insert the bolt, and tighten it until secure. Ensure that the hole size matches the bolt for a snug fit.
- Toggle Bolts: Drill a hole, insert the folded toggle, and tighten the bolt once the toggle flips open behind the wall. This creates a strong anchor point.
PRO TIP: Use masking tape over the drilling area to prevent plaster from cracking.
Drilling Tips for Plaster Walls
Preventive Measures
Drilling into plaster requires delicacy. Use a drill bit slightly smaller than the anchor or screw to prevent oversized holes.
Start drilling at aslow speed and gradually increase, avoiding too much pressure that might cause the plaster to crack.
Minimizing Dust and Debris
When drilling, it’s advisable to place a dust collector or a simple makeshift paper envelope under the drill point to catch debris, keeping your workspace clean and protecting the wall from scratches.
Adhesive Hangers: A Drill-Free Option
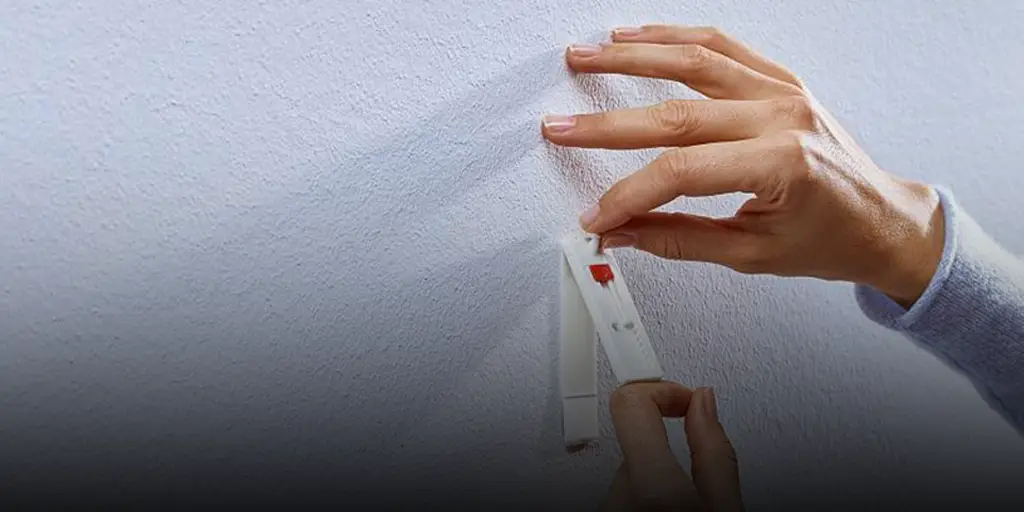
Advantages of Adhesive Hangers
For lighter frames and artworks, adhesive hangers are a viable option. They eliminate the need for drilling, reducing the risk of damaging the plaster.
Installation Process
- Clean the wall surface where the hanger will be placed.
- Peel off the liner and apply the adhesive hanger to the wall, pressing firmly.
- Allow the adhesive to set for the recommended time before hanging the picture.
Note: Adhesive hangers are suitable for items weighing up to 6 pounds.
Brass Hooks for Plaster Walls
Why Choose Brass Hooks?
Brass hooks, equipped with needlepoint nails, are ideal for plaster walls. They penetrate the wall with minimal damage and are sturdy enough to hold various weights, depending on their size.
Installation Guidelines
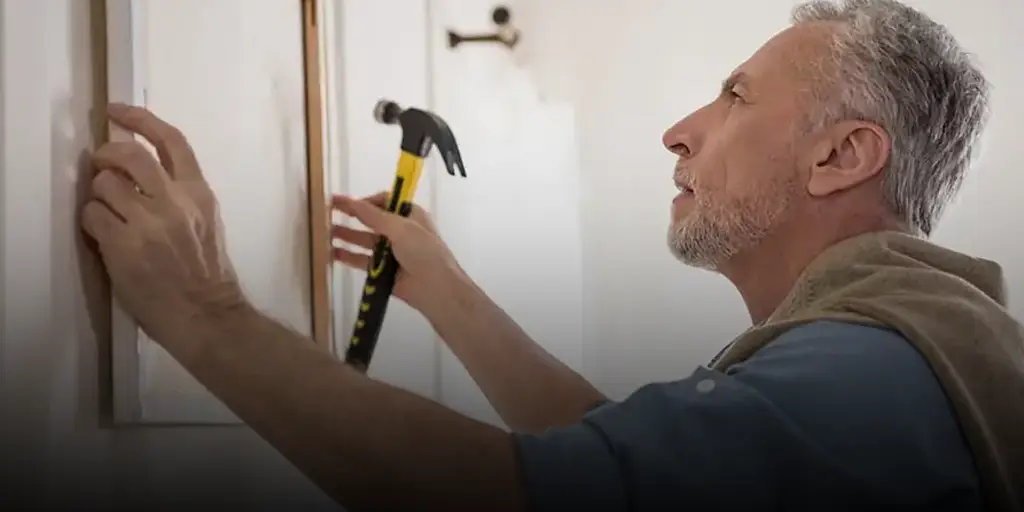
- Hammer the nails at a 45-degree angle for better stability.
- Avoid over-hammering to prevent plaster from loosening.
Capacity of Brass Hooks
These hooks can support up to 100 pounds, making them versatile for different frame sizes and weights.
Gallery Systems: Elegant and Efficient
What are Gallery Systems?
Gallery systems offer a sophisticated way to hang pictures, especially in homes with existing picture rails. These systems involve hooks and wires or rods, allowing for easy layout changes without additional drilling.
Installation Steps for Gallery Systems
- Attach rail hooks to the picture rail molding.
- Hang nylon or steel cords from the hooks.
- Adjust the height of the hooks on the cords to align your frames.
Benefits of Gallery Systems
They provide a timeless look and are highly adaptable for various layouts, ideal for plaster walls due to their minimal impact.
Decorating Tips and Ideas
Arranging Your Artwork
Be creative in arranging your pictures. Consider grouping smaller frames or creating a focal point with a larger piece. Balance is key—ensure your arrangement complements the room’s overall aesthetics.
Incorporating Different Frames
Mix and match different frame styles and sizes for an eclectic look. Just ensure that the hangers and anchors you use are appropriate for each frame’s weight and size.
Maintenance and Adjustments
Regular Checks
Periodically inspect your hung pictures to ensure they remain secure. Look out for signs of stress on the plaster around the anchors or hangers.
Adjusting Layouts
With gallery systems, adjusting your layout is simple. For other hangers, be prepared to patch and repaint if you decide to change the arrangement.
Safety Considerations
Handling Tools and Ladders Safely
Always prioritize safety when using tools and ladders. Ensure your ladder is stable and at a suitable height, and be cautious when handling drills and hammers.
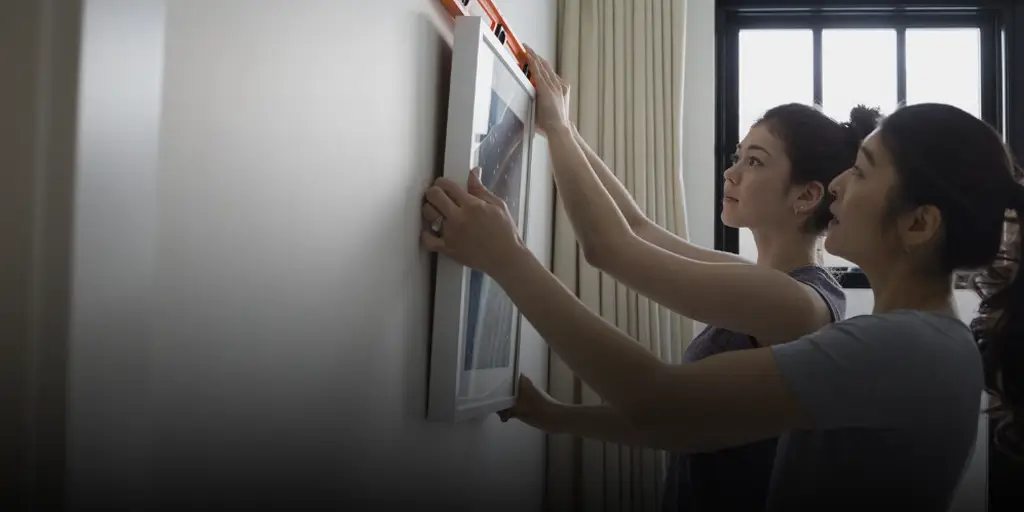
Lifting Heavy Frames
Seek assistance when hanging heavy frames to avoid accidents or wall damage.
Conclusion
Hanging pictures on plaster walls can be a rewarding DIY project if done correctly. With the right tools, anchors, and techniques, you can enhance your home’s décor without compromising the integrity of your plaster walls.
Remember to consider the wall type, anchor choice, and picture hanger suitability to ensure a successful and safe installation.


")