Windows are one of the most defining design elements of any home. The precise installation of window trim and siding plays a significant role in the overall curb appeal and functionality of a structure.
Homeowners frequently grapple with questions around the optimal approach for these installations.
Whether trim goes over or under siding has long been a debate in the construction industry.
While installing trim before siding is considered a best practice by many professionals, demand remains for alternative methods that minimize disruption.
As more homeowners invest in home renovations like replacing windows or updating exterior finishes, clear guidance on both mainstream and unconventional trim installation techniques is needed.
This comprehensive guide aims to shed light on the topic from all angles. It explores the technical specifications, code requirements, pros and cons of each approach to empower readers in making the right choice for their unique property needs.
The step-by-step visual breakdowns of processes like trimming over siding or swapping windows in-place provide a practical understanding of on-site execution.
Beyond aesthetics, water drainage and structural integrity must also be ensured according to building science principles.
You will gain insights into how proper sealing and flashing are employed to prevent moisture damage no matter the installation order.
Real-world examples further illustrate long-term performance outcomes common to different material combinations in varied climates.
Whether a new build or renovating an older home, following an expert-verified methodology will offer lasting value.
This extensively researched article separates facts from myths to establish industry-recommended best practices.
By learning both standard and specialized window trim installation strategies, homeowners can select the most optimized solution tailored to their project requirements.
Clear your doubts and let the research do the talking as you make informed decisions around siding and trimwork!
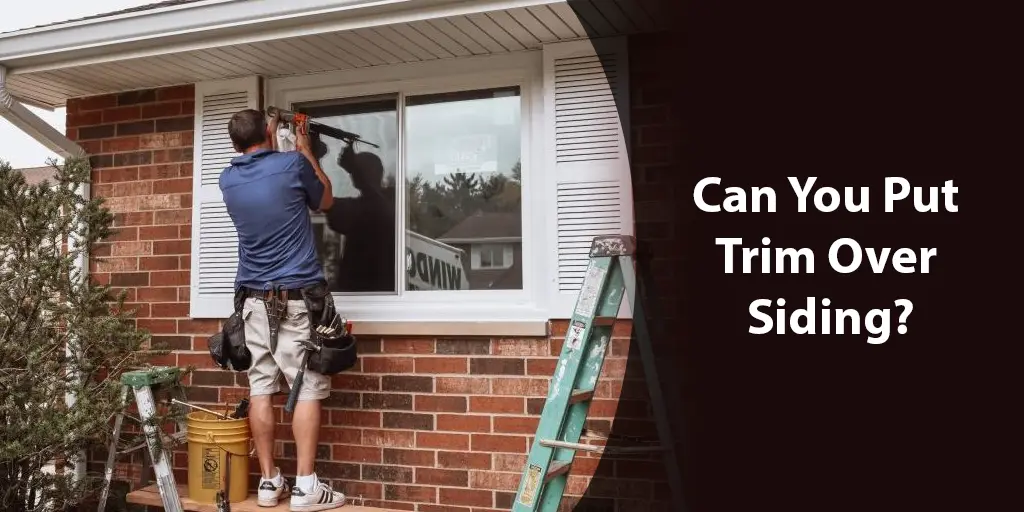
Can You Install Window Trim Over Siding?
The short answer is yes – it is feasible to install window trim over an existing siding surface. In some jurisdictions, building codes may even stipulate this approach for specific renovation projects where minimal site disturbance is required.
While an unconventional method compared to conventional framing beneath trim and above siding, installing window casings atop exterior cladding can optimize timeline and reduce material waste in selective remodel scopes.
By preserving currently integrated siding panels, this retrofit technique preserves existing water resistive barriers and ventilation facets intact.
There are two primary ways trim can be precisely fitted over siding materials:
- Siding Cutting: Using tin snips or an oscillating tool, carefully cut siding panels to neatly notch around the protruding trim profiles. This produces a flush surface.
- Trim Overlapping: Measure and position trim boards such that their edges lay atop and conceal the siding perimeter. This creates a shadow-line effect.
Proper sealing is crucial to either approach. Installers must apply flexible construction sealants behind trim edges and along all contact points to exterior sheathing.
Furthermore, self-adhesive flashing tapes can reinforce seams and prevent water intrusion behind cladding interfaces.
While more intricate than conventional below-siding mounting, following precise measuring, cutting, and sealing protocols allows trim overlays to perform similarly from a protection standpoint.
With skilled application, the finished product can yield an attractive, customized presentation mimicking modern design aesthetics.
For the cost-conscious, this rehab method offers an excellent means to refresh curb appeal without complete siding replacement. Just be sure to research local code acceptability and consult an expert to discuss any project-specific concerns.
How to Install Trim Over Siding
Installing trim atop an established siding surface requires meticulous prep work and techniques to achieve a weather-tight seal. While every project will entail subtle variations, the following guidelines outline the standard procedure:
Materials Needed:
- Tin snips or oscillating tool for siding cuts
- Hammer
- Nail gun or roofing nails
- Exterior-grade sealant/caulk
- Self-adhesive flashing tapes
Steps:
- Protect Work Area & Inspect Siding – Stage tools and seal all openings to contain debris. Ensure existing cladding is sturdy and free of damage.
- Lay Out Trim Placement – Measure and mark siding for trim positioning with allowance for cuts. Photograph for later reference.
- Cut Siding – Using appropriate safety gear, neatly cut siding panels along marks with tin snips. Make relief cuts at trim corners.
- Apply Flashing Tape – Reinforce siding seams, window openings, and Relief cuts with flexible flashing tape for an extra moisture barrier.
- Secure Window Trim – Position and fasten trim boards to wall framing underneath with appropriate fasteners.
- Caulk Gaps – Apply sealant behind and between all trim and siding interfaces to form an impermeable bond.
- Inspect & Finish – Check for gaps and re-seal if needed. Paint or stain trim once sealant cures for a polished look. Proper execution at each step ensures trim overlays are fully adhered to repel water and protect the wall assembly for years to come.
Is Trim Usually Installed Before Siding?
Conventional construction wisdom dictates that window and door trim be mounted on exterior walls prior to installing siding panels.
This long-held sequence follows building science principles related to moisture management and structural durability.
When trim acts as the initial barrier layered over sheathing, it creates a protective boundary between the building wrap and siding materials.
Any gaps or seams created through factory cuts or on-site fitting are neatly covered by overlapping trim boards.
With trim in place first, siding like lap siding, panels, or sheets can then abut flush against these guides. Installed trim forms a sill to direct water away and a face to stop intrusion at vulnerable edges.
Some key benefits of this trim-first approach include:
- Gaps are concealed to maximize moisture drainage and prevent rot or mold growth behind cladding over time.
- Alignment references streamline precise siding placement for a uniform appearance and weather-tight fit.
- Warranties on exterior finishes may require following the manufacturer’s recommended installation sequence.
Of course, pre-existing conditions like a renovation scope where siding cannot be removed may necessitate an alternative sequence.
Even then, specialists stress the importance of flashings or sealants behind overlapped trim edges to maintain peak envelope performance.
Overall, installing trim before siding remains the preferred best practice imparted by building science experts. It provides maximum protection against water damage risks down the road.
Replacing Windows Without Removing Siding
For homeowners seeking energy upgrades or new functional windows, a full siding tear-down can seem overly invasive.
Thankfully, with care and proper materials, window replacements can often occur smoothly while keeping existing cladding intact.
This in-place window swap methodology contains multiple advantages. First, it minimizes construction debris and reduces costs relative to a full exterior re-skin. Fewer materials also mean less hassle transporting items to and from the job site.
For the contractor, in-place procedures allow smoother scheduling of window deliveries, installations, and inspections compared to phased siding removal and reinstallation.
Less down time permits squeezing additional jobs into a schedule, boosting overall work throughput.
To successfully exchange windows beneath fixed siding using this approach, it is important to:
- Thoroughly inspect the existing frame and flashing for potential damage.
- Carefully measure new windows to fit precisely within old openings.
- Take apart the existing window, cleaning out old materials.
- Install weather barrier tapes behind any revealed sheathing or rough framing.
- Set and secure the new window with an airspace between siding and frames.
- Caulk around frames and re-install trim boards or casing profiles.
Properly implemented with sealant tape reinforcements, this method yields the same long-term waterproofing as a full-fledged replacement project.
With strategic planning, almost any window swap can occur respectfully below intact siding.
Pros and Cons of Wood Siding and Trim
Wood remains a beloved exterior cladding material for its natural aesthetics and abundance. Whether debating trim boards or siding options, understanding the true costs and benefits of this renewable resource is key.
Pros:
- Charming Appearance – Wide grains, knots and variances make wood aesthetically pleasing. With proper finishing, it enhances curb appeal.
- Durability – Hardwoods like cedar hold up well to moisture and UV rays if adequately sealed. With minimal maintenance, wood can survive 15-30+ years.
- Customizable – Wood arrives in various profiles to craft any detailed trim design and comes untreated or pre-stained for customizing.
- Environmental Cred – Sourced from sustainably-managed forests, wood promotions renewed harvesting.
Cons:
- High Material Cost – Dependent on grade, wood can be more expensive than composite or vinyl alternatives up front.
- Prone to Damage – Without proper sealing, wood is at risk of rotting if in direct contact with soil or constant moisture.
- More Maintenance – Regular restaining or painting is required several times within its lifespan to prevent weathering.
- Limited Warranty – Manufacturer warranties often only cover defects, not customary maintenance needed over time.
- Availability Variances – Sourcing high-quality, straight-grained wood can be difficult depending on timber supplies.
Weighing these factors alongside individualized budget and maintenance tolerance helps determine if the outdoor performance and aesthetics of wood justify its costs for a given project.
As with any building material, proper installation techniques are likewise pivotal to maximizing wood’s benefits.
Conclusion
Through thorough exploration of trim installation methods and material qualities, this guide aimed to shed light on optimizing exterior presentations.
While industry standards point to the tried-and-true approach of framing trim before applying siding, unique needs may warrant alternative yet code-compliant solutions.
At the end of the day, longevity and life-cycle costs must steer any design decision. Proper sealing and flashing techniques recorded here ensure long-term durability no matter the sequence or materials selected.
Consulting building inspectors can also provide specific advice fitting local climates and property configurations.
For DIY renovators, starting a process with the best intentions requires understanding both standard and specialty techniques.
Know when a project exceeds one’s capabilities orSave time and potential mistakes by hiring experienced installation crews.
Moving forward, homeowners now have the power of information to select exterior aesthetics tailored to their budgets while satisfying structural performance requirements.
Whether remodeling or new construction, evaluating options through both technical and subjective lenses will yield living spaces to admire for years to come.
May this all-inclusive resource on window trim and siding installations prove insightful for guiding many successful outdoor upgrading projects.
With the proper planning approaches outlined here, properties can achieve maximum curb appeal through weather-protected features designed to last.


")
