Have you ever found yourself in the middle of a drilling project, only to realize your drill bit isn’t long enough to complete the task? It’s a common scenario for many DIY enthusiasts and professionals alike.
Picture this: you’re drilling a hole for a new shelf, and suddenly, the drill stops short, unable to reach the required depth. It’s frustrating, isn’t it?

In my own experience, I’ve faced this dilemma more times than I’d like to admit.
It’s a moment that can halt your progress and leave you wondering, “What now?” The good news is, there are several straightforward solutions to overcome this challenge, each tailored to different needs and situations.
In this comprehensive guide, we’ll explore four effective ways to extend your drill or drill bit, ensuring you’re never caught off-guard during your woodworking or home improvement projects.
Whether you’re a seasoned pro or a DIY beginner, these tips will help you tackle any drilling obstacle with ease.
Let’s dive in and turn those drilling frustrations into accomplishments!
Extended-Length Drill Bits: A Simple Solution
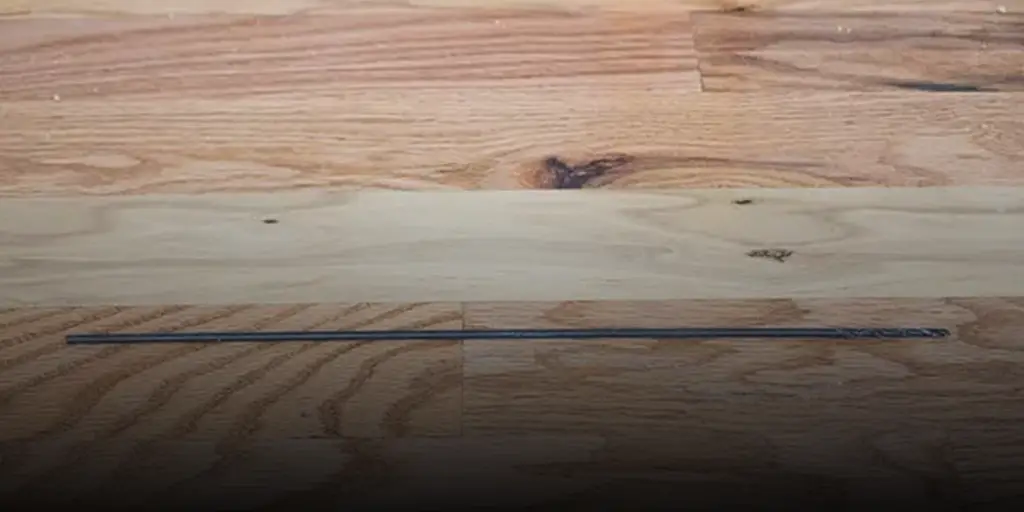
Extended-length drill bits are the first and perhaps the most straightforward solution to the problem of short drill bits.
These specialized bits come in various lengths, typically ranging from 6 inches to 12 inches. They are a perfect match for those deeper holes where standard bits fall short.
When considering purchasing extended-length bits, you have two main options: individual bits or sets. If you have a specific size requirement for a one-time project, an individual bit might suffice.
However, for those who frequently encounter different scenarios requiring varying lengths, investing in a set could be more economical and convenient in the long run.
Price-wise, these bits can vary. You might find them for as little as $3 at budget-friendly stores like Harbor Freight or up to $15 for more premium options at places like Home Depot.
My personal experience leans towards the more affordable options, which have served me well for occasional use. But, if you anticipate heavy or regular use, consider investing in higher-quality bits for longevity and performance.
Key Takeaways:
- Extended-length drill bits come in lengths of 6″ to 12″.
- Available as individual bits or sets.
- Price range: $3 to $15 depending on quality and brand.
- Ideal for deep holes and specialized projects.
Harnessing the Power of Drill Bit Extenders
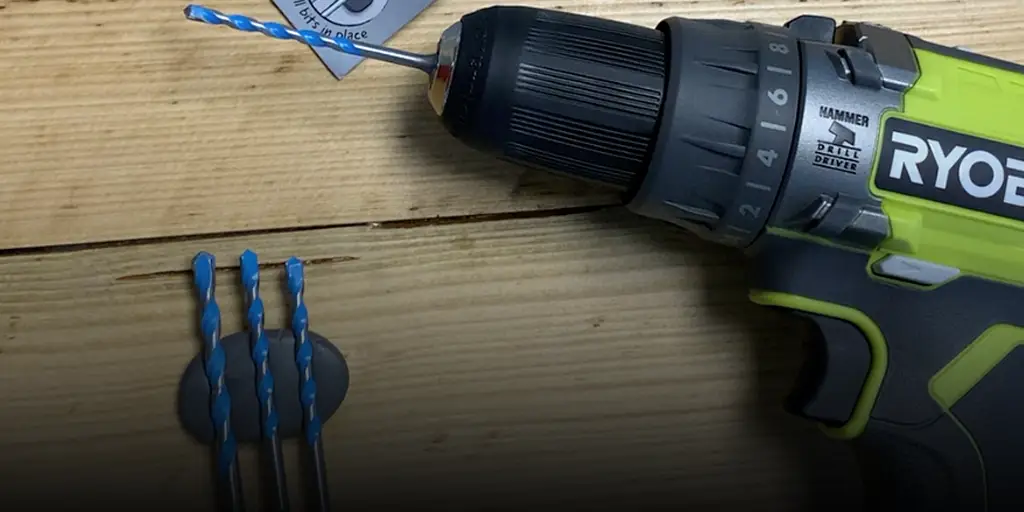
Another invaluable tool in my arsenal is the drill bit extender. This simple yet effective accessory can be a game-changer, especially when working in tight or hard-to-reach spaces.
It’s a compact tool that attaches to your drill, extending the reach of your drill bit by several inches.
The primary use of a drill bit extender is with hex bits, commonly used for driving screws. However, its secondary, and often overlooked benefit, is its ability to extend the reach of your drill bit.
This extra length can be crucial in situations where your drill just can’t quite make the distance.
Price and accessibility of these extenders are another plus. They are generally very affordable, often around $2, and can be found at most hardware stores.
Remember, these extenders are best suited for hex bits and may not be compatible with cylindrical shank bits.
Key Takeaways:
- Drill bit extenders add extra inches to your drill bit.
- Primarily used with hex bits.
- Cost-effective solution, typically around $2.
- Ideal for tight spaces and extended reach.
Maximizing Length by Adjusting the Shank
Sometimes, the solution lies not in acquiring new tools, but in optimizing what you already have.
By adjusting the shank of your existing drill bit in the drill’s chuck, you can expose more of the bit, effectively lengthening it. This method is a quick and cost-free way to gain a few extra inches of drilling depth.
Here’s how it works: Normally, the drill bit is inserted into the chuck so that a substantial portion of it is hidden inside.
By adjusting it so that the chuck grips closer to the base of the bit, more of the bit’s length is exposed and available for drilling.
However, it’s important to strike a balance. While exposing more of the drill bit’s shank does increase its length, it may also reduce stability and grip. Ensure the bit is still securely held by the chuck to avoid wobbling or slipping during drilling.
Key Takeaways:
- Adjust the drill bit in the chuck to expose more of its length.
- A cost-effective and immediate solution.
- Important to maintain a secure grip for safety and precision.
- Suitable for minor length adjustments.
People who want to read this article: How to Mark Blind Holes for Drilling
The Dual-Side Drilling Technique for Depth
In situations where you can’t extend your drill bit by other means, the dual-side drilling technique can be your savior.
This method is particularly useful when you need to drill through a thick piece of material and your drill bit isn’t long enough to go all the way through from one side.
The Process:
Start Drilling Normally: Begin by drilling into the material until the drill’s chuck reaches the surface and you can’t go any further.
Use an Awl to Create a Guide: Insert an awl into the partially drilled hole and tap it through to the other side of the material. This creates a pilot hole that will guide the drill bit when you start drilling from the other side.
Drill from the Opposite Side: Align the drill bit with the pilot hole created by the awl and start drilling. You’ll eventually meet the section of the hole drilled from the first side, creating a single continuous hole through the material.
This technique is a bit more complex and requires careful alignment to ensure the holes meet accurately. It’s best suited for materials where the combined depth is within twice the length of your drill bit.
Key Takeaways:
- Useful for drilling through thick materials.
- Involves drilling from both sides of the material.
- Requires an awl to create a guide hole.
- Needs careful alignment for precision.
Additional Pro Tips for Effective Drilling
Beyond extending your drill or drill bit, there are several other tips and tricks that can enhance your drilling experience:
Choose the Right Drill Bit: Always select a bit that is appropriate for the material you’re working with.
Maintain Your Bits: Regularly check your bits for sharpness and damage. A well-maintained bit can significantly improve your drilling efficiency.
Use Lubricants for Metal Drilling: When drilling into metal, using a lubricant can reduce heat and prolong the life of your drill bit.
Apply Steady Pressure: Apply consistent pressure when drilling to avoid bit breakage and ensure smooth drilling.
Safety Measures for Drilling Projects
Safety should always be a priority when handling power tools, especially drills. Here are some crucial safety tips to keep in mind:
Wear Protective Gear: Always wear safety glasses to protect your eyes from flying debris. For certain projects, ear protection and a dust mask may also be necessary.
Secure the Material: Before drilling, ensure the material you’re working on is firmly clamped or secured. This prevents movement and potential accidents.
Check the Drill and Bit: Inspect your drill and bit for any damage before use. A damaged tool can be a significant safety hazard.
Be Mindful of Your Surroundings: Be aware of your environment, especially if you’re working in a shared space. Keep children and pets at a safe distance.
Use the Right Technique: Apply steady pressure and use the correct speed for the material you are drilling. Forcing the drill or using too high a speed can lead to accidents.
Know Your Drill: Familiarize yourself with the features and limitations of your drill. Understanding how your tool works can prevent misuse and accidents.
Conclusion: Enhancing Your Drilling Skills
Whether you’re a seasoned woodworker or a DIY enthusiast, encountering a drill bit that’s too short for your project can be frustrating.
However, with these four methods—using extended-length drill bits, drill bit extenders, adjusting the shank, and the dual-side drilling technique—you can easily overcome this challenge.
Along with the additional drilling tips and safety measures, you’re now equipped to handle a wide range of drilling tasks with confidence and efficiency.
Remember, the key to successful drilling is not just in having the right tools, but also in using them wisely and safely.
By extending your drill or drill bit appropriately and following best practices, you can achieve precise, clean holes in various materials, making your DIY projects and home improvements even more rewarding.


