Whether you’re a hobbyist woodworker, craftsperson, or homeowner, properly drying wood is an essential part of any project.
However, determining how long it will take wet wood to fully dry can often be a mystery. This is especially true after exposing wood to high pressure water from power washing.
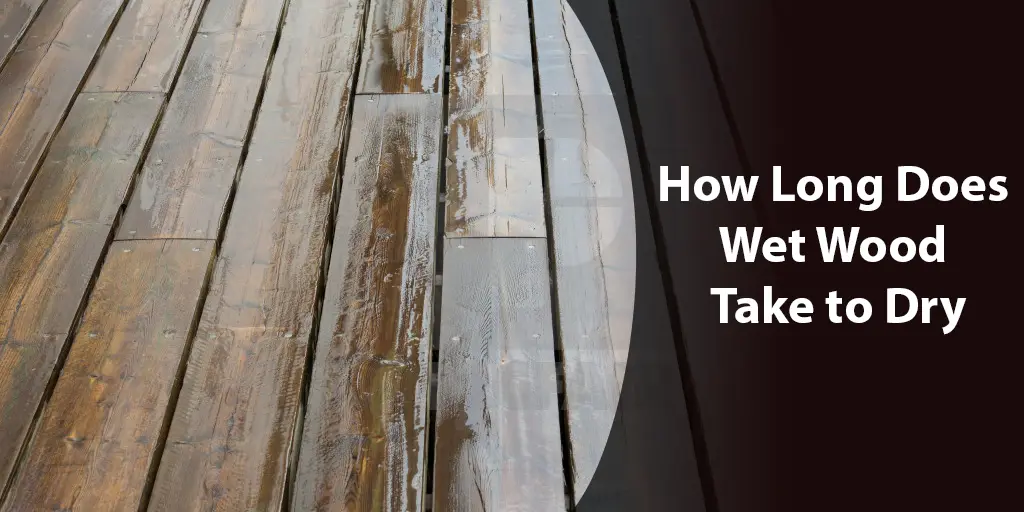
The powerful jets of a power washer are excellent for cleaning dirty surfaces, but they also force water deep into the pores and fibers of wood.
This trapped moisture must now evaporate, but how long could that take?
The answer depends on several factors, from the type of wood to environmental conditions. Unfortunately, not allowing enough time for wet wood to dry completely can cause issues later on like staining, mold growth, or even structural instability.
To help woodworkers and DIYers alike understand this important drying process, we spoke to experts in wood drying and analyzed available research.
We’ll explore everything you need to know about how power washing affects wood moisture and what it takes to fully evaporate that water.
We’ll cover the various elements that influence drying times and provide tips for shortening the timeline. Signs that the wood has reached a dry, stable state again will also be discussed.
Finally, best practices for proper storage of wet wood will be outlined to prevent further problems down the road.
Factors That Affect Drying Time
As with naturally wet wood, several elements influence how quickly power washed wood will dry out. Understanding these factors is key to developing a realistic timeline and avoiding issues. Let’s take a more in-depth look at some of the primary considerations:
Wood Species
As always, the type of wood makes a difference. Hardwoods like oak tend to be denser with smaller internal pores, slowing moisture escape versus softer woods like pine. Research has shown hardwoods require 1.5-2 times longer to dry than softwoods.
Initial Moisture Level
Power washing drives water far inside the wood grain. Higher intial moisture means more water that must evaporate. Proper washing technique like low pressure up-close helps minimizs moisture absorption.
Humidity
Perhaps the most impactful variable, atmospheric moisture hinders drying. Higher relative humidity (RH) results in longer times. Aim to dry wood inside at an RH below 60%.
Temperature
Heat promotes faster evaporation of water. Most experts recommend temperatures above 65°F/18°C for efficient outdoor drying. Warmer climates have a clear advantage.
Airflow & Ventilation
Without adequate airflow, moisture gets trapped against the wood. Ensure all 6 sides are exposed using stickers/spacers in stacks for cross-breezes.
Thickness & Size
More surface area allows water to escape more rapidly. Thinner pieces like 1x4s dry much faster than thick 4×4 posts. Cut wood into thinner pieces if possible.
Density
In addition to species, density impacts internal pore structure. Tighter grain slows water movement versus more porous wood.
Coatings
Any sealed or painted surfaces act as a barrier, extending drying time. Consider stripping finishes before washing if necessary.
Local Conditions
From rainfall to sun exposure, microclimates influence the process. Indoor drying takes longer than outdoor in optimal settings.
Taking all factors into account will help accurately estimate drying schedules for different wood types and projects. Monitoring moisture content ensures wood is completely dry for long-term stability.
Estimated Drying Times
With the numerous factors involved, drying time estimates for power washed wood can vary widely. However, here are some general guidelines backed by experts:
Softwoods (Pine)
- Dimensional Lumber (1-2 inches thick): 1-3 days
- Boards/Panels (1/2-1 inch): 2-5 days
- Posts or Beams (3+ inches): 1 week or longer
Hardwoods
- Dimensional Lumber: 3-7 days
- Boards/Panels: 5-10 days
- Thick Slabs/Posts: 2+ weeks
Exotic/Tropical Hardwoods
- Dimensional Lumber: 1-2 weeks
- Panels/Boards: 2-4 weeks
- Thick Slabs: 1+ month
Factors that may increase drying times:
- High humidity (>60% RH) can easily double estimates.
- Indoor drying without fan/ventilation is slower than outdoors.
- Dense or sealed/finished wood requires additional time.
- Cool temperatures (<65°F/18°C) slow evaporation.
- Shaded or enclosed areas lack optimal sun/airflow.
It’s important to properly monitor moisture content with a meter to be sure internal drying is complete, not just the surface. The heartwood may take 1.5-2 times longer than listed times.
And realizing thicker wood dries from the outside in can take patience. Staying engaged in the process helps prevent issues down the line from unfinished drying.
With the right approach and conditions, power washed wood can stabilize within estimated durations outlined here.
Tips For Speeding Up The Drying Process
While allowing ample time is important, there are effective techniques for boosting airflow and evaporation when drying wet wood.
Implementing some of these procedural strategies can potentially cut drying schedules in half or more:
Exposure to Sunlight
Direct solar gain is one of the best methods for expediting moisture loss. Set wood in a well-ventilated area with maximum sunny exposure when possible.
Use Fans
Placing small pedestal or box fans aimed at wood significantly increases airflow and circulation versus still air. Look for heavy-duty, outdoor-rated models.
Increase Surface Area
Cut boards or poles into thin strips that raise the overall perimeter exposed to moving air to dry more efficiently. Always wear protective gear.
Stickers and Spacers
Raising and separating individual pieces off the ground on sticks or racks allows cross-ventilation under and between each item. Improves airflow access by 500% or more versus stacked piles.
Dehumidification
Indoors, a portable dehumidifier pulls extra moisture from air, lowering humidity to ideal drying levels, even during damp weather. Monitor and empty frequently.
Rotation
Turning wood periodically, such as daily, exposes fresh surfaces to airflow to help drying progress uniformly throughout pieces instead of just outside surfaces. Especially important for dense woods or thick stock.
Ventilation
Ensure drying area uses good prevailing winds and cross-breezes where possible rather than sheltered locations with still air between obstructions.
Sand Surfaces
Scuff-sanding roughens the grain very lightly to increase surface texture and overall water escape routes, providing a modest boost to evaporation speed.
Shelter from precipitation
Protect drying wood stacks and single pieces from absorbing rain or irrigation that could prolong or reverse drying. A waterproof covering suffices.
With a little creativity and effort, these techniques can significantly shorten drying timeframes when washing wood outdoors or within covered areas.
Checking moisture content verifies sufficient internal drying before further carpenter work begins.
Read Also: How to Repair Rotted Wood Siding
Signs The Wood Is Dry
It’s important to properly determine when power washed wood has fully stabilized at an appropriate moisture level before use or storage.
Here are some visual and tactile cues experienced woodworkers rely on as effective indicators:
Visual Cues
- Lighter overall coloration as water no longer clouds the natural woodgrain and hues.
- Minor cracks or checks begin to appear, especially along the ends of boards. These are normal as wood releases tension from excess moisture while stabilizing.
- Fungus or mold on the surface has completely disappeared after initially forming in damp conditions.
Tactile Cues
- The texture when lightly running fingers over wood feels smooth rather than damp or spongy in any spots. No soft or mushy feeling grain.
- Testing moisture content with meter reads 15% or below for indoor projects, depending on species. Most Woods need 12% MC or under for stability.
- If squeezing pieces gently, no excess water marks or collects on skin from internally trapped moisture being compressed out.
- Boards no longer feel significantly heavier than when freshly power washed and wet, having fully lightened as hydrogen is eliminated from wood cell structure.
While experience helps identify dried wood, using an accurate moisture meter provides a definitive reading.
Checking moisture deeper than surfaces protects long-term stability too. Those curing wet wood are advised to closely monitor all signs until fully confident the drying process cleaned by power washing has completed before sealing or utilizing wood for projects.
Proper Storage and Handling
Now that the wood is thoroughly dry, proper storage and handling methods are important to maintain its condition until use. Small steps can help prevent moisture-related risks down the road:
Shelter from the Elements
Fully dry wood should be stored indoors or under a covered shelter protected from rain, snow, and other precipitation that could cause renewed dampness issues over time if left exposed.
Ventilation
Even dry wood needs some airflow to prevent moisture accumulation. Good storage methods include loosely piling pieces in a well-ventilated shed or garage rather than tightly sealing in unventilated garages or basements prone to humidity fluctuation.
Air Circulation
Ensuring airspace between wooden items allows any residual moisture overhangs to escape rather than be trapped. Stacking with spacers then works well. Fans can also slowly circulate air within storage units.
Sealing or Coating
Applying a protective sealer, polyurethane, or other finish to wood surfaces helps prevent moisture absorption if exposed to damp conditions during or after use while enhancing longevity of the material.
Pest Prevention
Completely dried wood is less appealing to insects, but residual sugars may still attract beetles or other wood-boring pests. Consider pest control measures for long-term storage locations.
Labeling
Mark each cured piece with a waterproof tag noting species, date, and moisture content% to track conditioning and maintain quality over years of storage for future projects as needed.
Proper care, from drying through storage and handling, helps maximize wood’s potential for downstream carpentry, crafting, or building endeavors by preserving its moisture levels and structural properties.
Conclusion
In summary, allowing wet wood adequate time to properly dry out after power washing is imperative for achieving a stable, durable material suitable for various woodworking applications down the road.
While drying times may seem lengthy, taking the necessary precautions against premature use or enclosure promotes long-lasting quality.
Understanding how factors like wood species, thickness, climate conditions and techniques like stickers or fans can impact the rate of evaporation equips readers to develop realistic drying schedules tailored for their specific needs and setting.
With careful planning and following the guidance provided here, woodworkers and DIYers alike now have the knowledge to confidently dry power washed wood safely and effectively.
Regular monitoring with a moisture meter verifies internal equilibrium has been reached before valuable pieces are put into long-term storage or employed creatively in furnishings, structures and more.
Remember that proper drying serves as the foundation for any project—without it, instability and degradation are sure to occur much sooner.
As new sustainable wood cleaning methods emerge, more research will expand our drying insights further. For now, applying expert recommendations outlined in this comprehensive guide empowers chances of success.
With diligent drying, wood can regain its full potential whether in functional objects, intricate artistry or simply natural beauty.
Its inherent versatility stems from understanding properties like moisture evaporation which this article aimed to illuminate clearly. Always let treated wood dry completely before putting skills to use!


