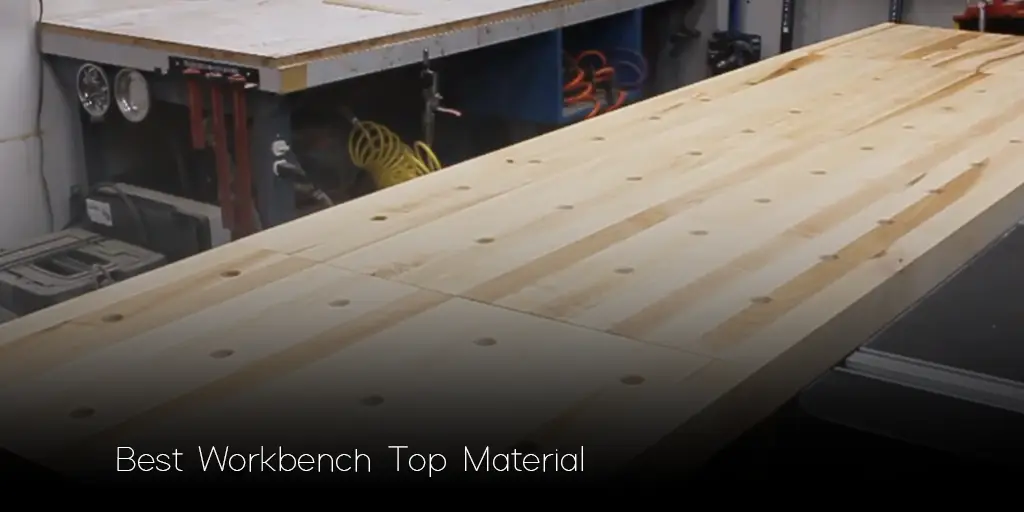
Choosing the best workbench top material is a pivotal decision for anyone setting up a workshop, be it for DIY projects, woodworking, or any other craft.
The material you select can greatly influence the durability, functionality, and overall aesthetics of your workbench.
With so many options available and a myriad of opinions on platforms like Reddit, The Garage Journal Forum, and Heartwood Art, making an informed choice can seem daunting.
This guide aims to simplify that decision by diving deep into the world of workbench materials, drawing from real-world experiences and expert opinions.
Why the Material Matters
The foundation of any great workbench lies in its top material. It’s not just about aesthetics; the material impacts every aspect of your work:
Durability
A workbench is subjected to various stresses, from hammering to the weight of tools and materials. The right material can withstand these pressures without warping or deteriorating.
Functionality
Depending on your craft, you might need a surface that’s resistant to chemicals, easy to clean, or smooth for precision work. The material you choose can enhance or hinder your workflow.
Safety
Some materials can be slippery, while others might splinter or chip. A safe workbench material ensures you can focus on your craft without worrying about potential hazards.
Cost-effectiveness
While it might be tempting to go for the cheapest option, it’s essential to consider the long-term costs. A material that needs frequent replacement or maintenance can end up being more expensive in the long run.
Drawing from discussions on platforms like Reddit and The Garage Journal Forum, it’s evident that experienced craftsmen and hobbyists alike place a significant emphasis on material choice.
It’s a decision that can influence the success and enjoyment of your projects.
Popular Workbench Top Materials
When it comes to workbench materials, there’s no one-size-fits-all solution. Here’s a deep dive into some of the most popular choices:
Plywood
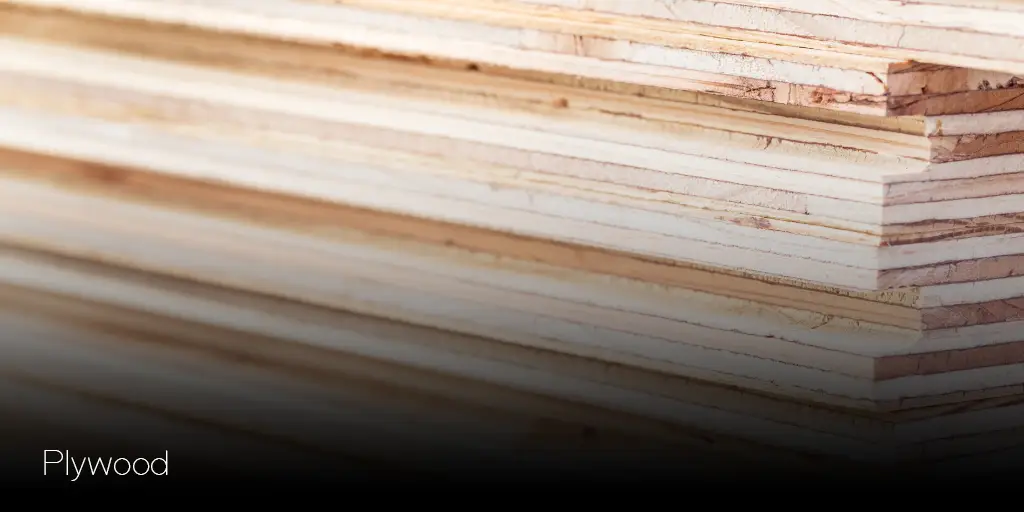
Pros:
Plywood, especially finished oak, offers a smooth surface ideal for various tasks. It’s sturdy, ensuring it doesn’t buckle under weight, and doesn’t require extensive sanding.
Cons:
Quality plywood can be on the pricier side. However, its durability often justifies the cost.
Solid Hardwood

Pros:
Hardwood, reminiscent of butcher block designs, is the epitome of durability. It can withstand significant pounding and offers a premium look and feel.
Cons:
It’s likely the most expensive option in both material and time, especially if you’re considering gluing up hardwood strips.
MDF (Medium Density Fiberboard)
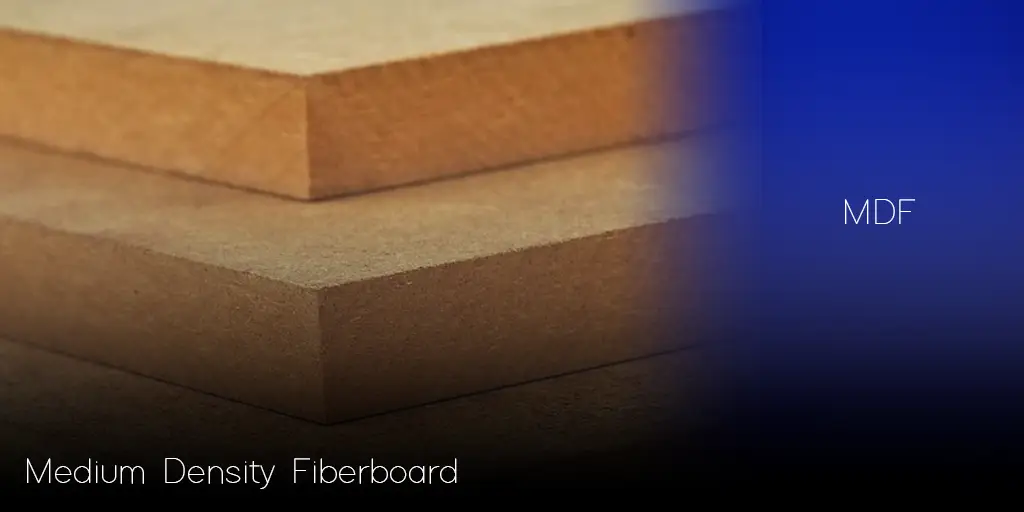
Pros:
MDF is an affordable alternative to plywood. It offers a solid, slick surface suitable for building boxes or similar structures.
Cons:
MDF doesn’t fare well under heavy use typical of workbench tasks. It’s prone to moisture absorption, making sealing essential. Without proper sealing, MDF can warp or deteriorate quickly.
Laminate
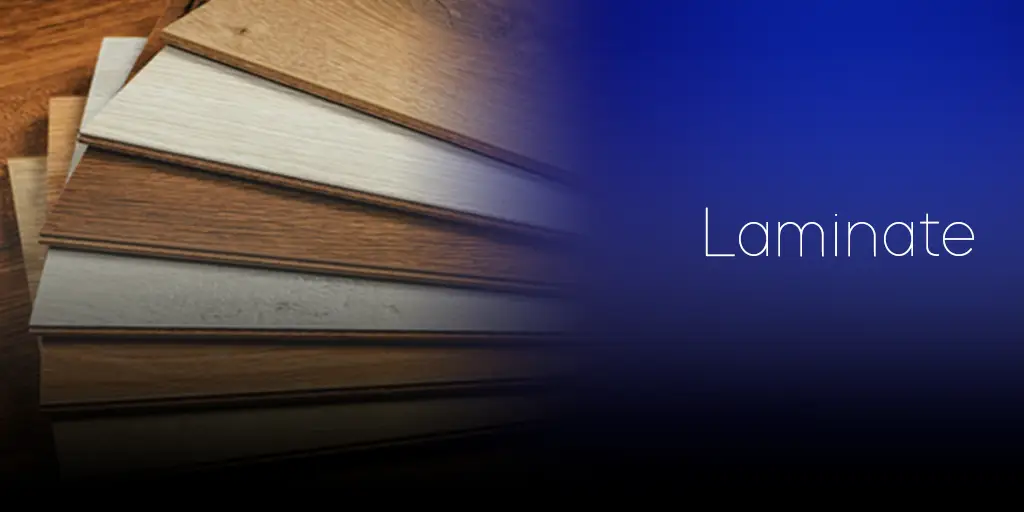
Pros:
Laminate sheets are easy to clean, making them ideal for tasks involving painting or staining. They offer a protective layer that’s resistant to chemicals and spills.
Cons:
Applying laminate flatly can be challenging, especially if you intend to replace it later.
Each material has its unique set of advantages and challenges. Your choice should align with your specific needs, budget, and the kind of tasks you’ll be performing on the workbench.
Protecting the Workbench Top
Once you’ve chosen the ideal material for your workbench top, the next step is ensuring its longevity. Protection not only extends the life of your workbench but also enhances its functionality.
Here’s a closer look at some protective measures:
Masonite Sheets:
- Benefits: Masonite sheets, available in 1/8” and 1/4” thicknesses, provide an instantly slick surface. They act as a protective layer against scratches, dents, and other potential damages.
- Application: These sheets can be easily laid on top of your workbench and replaced when worn out.
Thin Finished Plywood:
- Benefits: A thin layer of finished plywood can act as a protective shield for your workbench. It offers a smooth surface without the need for extensive sanding.
- Application: You can place a thinner, sanded plywood sheet over a thicker, non-sanded top. This method can be more cost-effective than using a single thick sheet.
Laminate Sheets:
- Benefits: Laminate sheets, similar to those used for flooring, are especially useful if you’ll be painting or staining on your workbench. They’re easy to clean and resist stains and chemicals.
- Application: While they offer excellent protection, applying them flatly can be a challenge, especially if you want the option to replace them later.
Oil and Wax:
- Benefits: A combination of oil and wax offers a natural way to seal and protect the wood. It not only safeguards against moisture but also provides a slightly slick surface, enhancing the workbench’s functionality.
- Application: A couple of oil applications can effectively seal the wood. A thin coat of paste wax can then be applied over the oil. However, it’s crucial to handle the oil application rags properly to prevent spontaneous combustion.
Protection is an investment in the longevity and functionality of your workbench. Whether you expect your workbench to get messy or prefer to keep it pristine, there’s a protective solution to suit your needs.
Attaching the Workbench Top
The method you choose to attach your workbench top can influence its stability, longevity, and ease of replacement. Here are some popular methods:
Cleats (Wood Blocks and Angle Brackets):
- Wood Blocks: This method requires a bit more skill, as you’ll need to router out a slot in the frame rails for the cleat’s tongue. The wood block part attaches to the top with a single screw.
- Angle Brackets: Easier to attach than wood blocks but still require a router to create a groove in the frame rails for the metal tongue of the cleat.
Figure 8 Brackets:
- Benefits: These brackets have been popular for a long time and are especially useful for assembling desktops. Their installation is almost as straightforward as countersinking a screw, but you’ll need a chisel to square the hole.
Pocket Holes:
- Benefits: Pocket holes are popular among DIY enthusiasts. They allow for easy top replacement but don’t account for much wood movement. It’s best to drill the pocket holes in the rails before assembling the frame.
Other Methods:
- Brad Nails: The easiest but least desirable method. They don’t allow for wood movement and make top replacement challenging.
- Countersink Screws: Another less desirable method due to the potential for accumulating debris in the screw head. If used, it’s essential to countersink them to prevent scratching workpieces.
The method of attachment can influence the workbench’s stability and longevity. It’s essential to choose a method that aligns with your needs, especially if you anticipate needing to replace the top in the future.
You May Also Enjoy Reading:
Real-world Experiences and Opinions
Drawing from the rich insights of platforms like Reddit, The Garage Journal Forum, and Heartwood Art, we can glean a wealth of knowledge from real-world experiences:
- User Recommendations: Many users on Reddit’s r/Workbenches thread emphasized the benefits of materials like MDF, plywood, and Masonite. Some highlighted the convenience of melamine, while others vouched for the sturdiness of oak and butcher block.
- Practical Insights: On The Garage Journal Forum, members shared their hands-on experiences with various materials. Some highlighted the importance of a smooth surface for specific tasks, while others discussed the durability required for tasks like pounding or heavy-duty assembly.
- Expert Opinions: Heartwood Art’s comprehensive guide delves deep into the nuances of each material, offering expert advice on protection, attachment, and maintenance. The emphasis on real-world application and practical tips makes it a valuable resource for anyone looking to set up or upgrade their workbench.
Key Takeaways:
- Diverse Opinions: There’s no one-size-fits-all answer. The best material often depends on individual needs, the nature of projects, and budget constraints.
- Practicality Over Aesthetics: While a workbench should ideally be visually appealing, its functionality and durability are paramount. It’s a tool, first and foremost.
- Continuous Learning: As with any craft, the world of workbenches is ever-evolving. Staying updated with the latest materials, techniques, and best practices can greatly enhance your workshop experience.
Conclusion
Choosing the best workbench top material is more than just a decision; it’s an investment in your craft.
Whether you’re a seasoned craftsman or a DIY enthusiast, the right material can significantly impact your work’s efficiency, quality, and enjoyment.
Drawing from diverse platforms and real-world experiences, it’s evident that while there are several great options available, the best choice often boils down to individual needs and preferences.
As you embark on your journey to create or upgrade your workbench, may this guide serve as a valuable resource, ensuring your workbench stands the test of time and craft.
")


")